This article may contain affiliate links.
Why Clean Your Mechanical Keyboard
Over time, mechanical keyboards can accumulate dust and dirt underneath the keycaps and between the keys. That can make typing less comfortable and even lead to functional issues.
The problem with cleaning mechanical keyboards is that it takes time. Pulling out all the keycaps and washing them takes time and energy we prefer spending elsewhere – doing the things we love, like gaming, watching TV, or working on our side hustle. So, we tend to procrastinate in cleaning our keyboards..
But cleaning your keyboard should not be neglected. It’s essential to clean it at least once a month or so, depending on how the keyboard is exposed to dirt.
Typewriter Keyboards Are Easier to Clean!
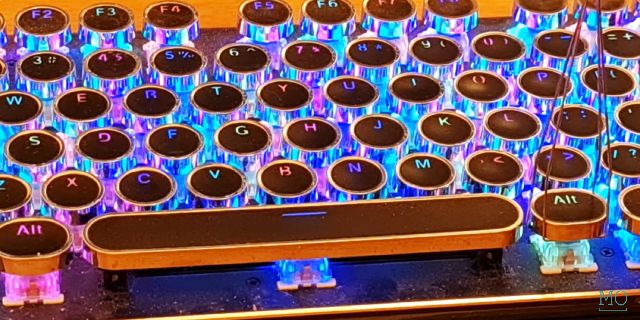
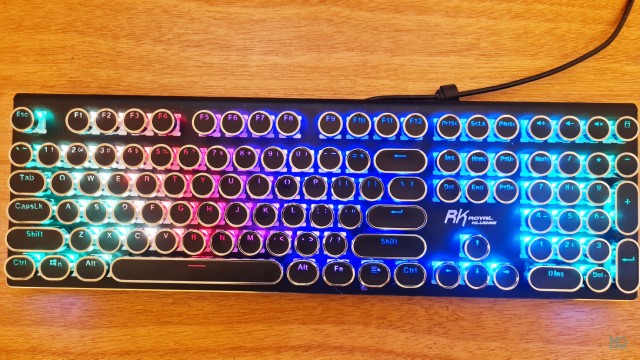
Typewriter keyboards are mechanical with a typewriter design – round keycaps and a more noticeable clicky sound. This unique design resembles the good old typewriter machine.
The kicker is that a typewriter keyboard is prettier than other keyboards and easier to clean!
Yes. Typewriter-style keyboards are easier to clean!
They are easier to clean than standard mechanical and average membrane keyboards. The reason for that is the round keycaps. Unlike the denser keys structure of most mechanical boards, the typewriter keyboard allows you to brush the dust without pulling off the keys.
If you want, you can still take out the keycaps to clean further, but you don’t have to, at least in most cases. Usually, the dirt is dust and some little hair that somehow got beneath the keys. You can easily pull off all the dirt between the keys and around them with a cheap little paintbrush.
In this video, I show how I clean the Royal Kludge typewriter keyboard, and you can get inspired to clean other typewriter keyboards similarly:
If you prefer reading, then follow the cleaning steps below.
How to Clean a Typewriter Keyboard Easily and Safely
1. Brush the Dust
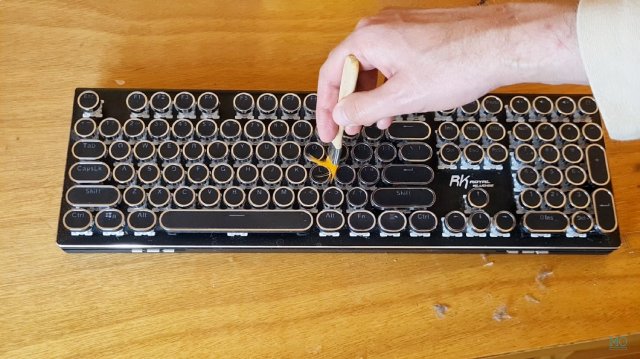
As mentioned, the big plus of the typewriter keyboard is that you don’t have to pull off all the keycaps to clean your keyboard. Instead, you brush between the keys and beneath the keycaps while connected to your board.
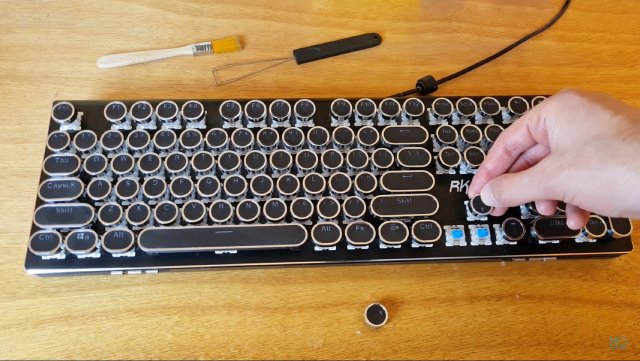
Before you begin cleaning, unplug your keyboard from the PC to avoid any accidental input while cleaning. Then, remove any loose debris or dust from the keyboard. Next, use a soft brush to carefully brush or blow away any dust, crumbs, Doritos, or other small particles that may have accumulated between the keys or around the keyboard. Be gentle so that you won’t cause damage to the mechanical switches or the keycaps.
If you don’t have a brush, here is a recommended brush kit (Amazon) in various sizes to fit your keyboard.
2. Wipe the Keyboard with a Rag
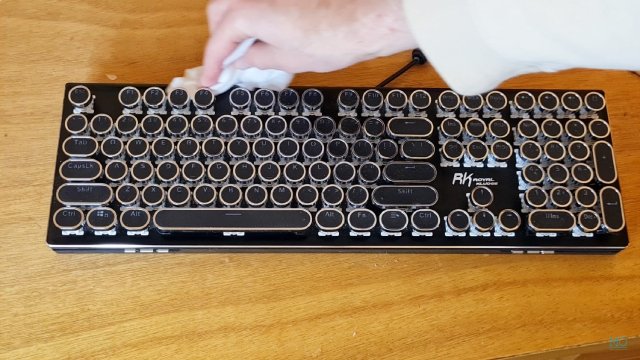
After removing the dust and the loose debris, use a wet rag to wipe down the keyboard. You can also lightly dampen the cloth with a small cleaning solution if needed but be careful not to use too much liquid or allow any moisture to seep into the keyboard. Then, take a dry rag and move over the keyboard to dry it. Remember that many typewriter-style keyboards have metal rings around the keycaps, so keeping them dry is essential. We don’t want them to accumulate any rust.
3. Remove the Dirty Keycaps
Unlike non-typewriter-style mechanical keyboards, here you don’t have to pull off the keys to clean the dirt beneath the keycaps. Instead, you can only remove those keys that cover stubborn dirt besides dust. Pulling off the keys is typically done by gently prying them using a dedicated keycap puller tool. Some models come with a puller like the Royal Kludge presented here. If you don’t have one, check this keys puller on Amazon.
Be sure to take a picture of your filled keyboard beforehand. Then keep the keycaps in a safe place to reassemble the keyboard later easily.
4. Clean the Keycaps with Dish Soap
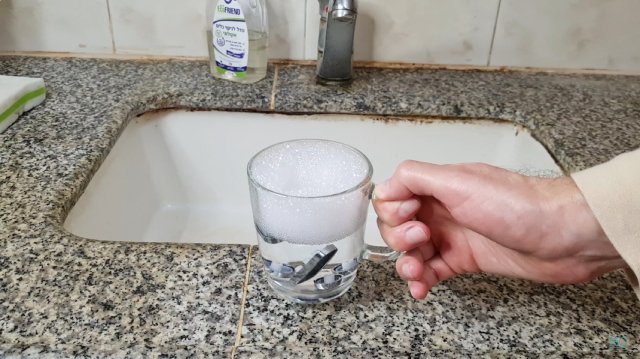
Once you have removed the keycaps, you can clean them individually using dish soap and a soft-bristled brush or toothbrush. Be careful not to use too much soap or scrub too hard, as this can damage the keycaps or their metal rings.
Alternatively, you can place the keycaps in a cup of warm water with dish soap and let them stay there for around 15 minutes. Then, put them on a towel and let them dry completely before reattaching them to the keyboard.
5. Reassemble your Keyboard with the Clean Keycaps
Once the keycaps are dry, carefully reattach them to the keyboard by pressing them back into place. Use the photo you took with your phone to fill all the keycaps in their proper place. Double-check that each key is aligned and functioning correctly before using the typewriter again.
Then plug the keyboard into your PC, and there you go – a brand-new typewriter keyboard is ready to use!
Final Words
Cleaning a typewriter keyboard can be easy and satisfying with the right supplies and techniques. The kicker is that you don’t need to remove all the keycaps as you have to with other mechanical keyboards. The typewriter design allows enough space to brush all the dust and dirt between the keys and beneath the keycaps.
Regular cleaning can help prevent dust and dirt buildup, which can ultimately prolong the lifespan of your typewriter keyboard and ensure it continues to function properly. Following the steps outlined in the article, you can keep your typewriter keyboard looking and working like new for years. It’s essential to clean your keyboard at least once a month or more frequently, depending on your use.
If you have a mechanical keyboard but want to try a typewriter-style, easy-to-clean keyboard – consider getting one!
The Royal Kludge is a budget typewriter keyboard that you can start with. It contains plenty of beautiful backlighting effects, a typewriter design, and even anti-ghosting tech.
Check my full review of the Royal Kludge typewriter keyboard to learn more.
Shachar is a blogger who enjoys the feel of a typewriter, and he loves tech gadgets with a retro design. Besides blogging Shachar likes to play chess, walk in nature and take view photos.


